> ## Documentation Index
> Fetch the complete documentation index at: https://docs.pads4.com/llms.txt
> Use this file to discover all available pages before exploring further.
# Use a Data Vault in a Designer presentation
> Link a Data Vault to an element on the PADS4 Designer canvas so the element stays in sync with content managed in System Management.
Once a Data Vault is attached to your presentation, you can pull its content into any element on the canvas. The element stays in sync with the Data Vault source defined in PADS4 System Management.
## Before you begin
Make sure that:
* A Data Vault has been added to your presentation. See [Add a Data Vault](/use-a-data-vault).
## Display Data Vault content in a presentation
1. **Place an element on the canvas.** On the **Elements** bar, select the element you want to use and drag its outline onto the canvas.
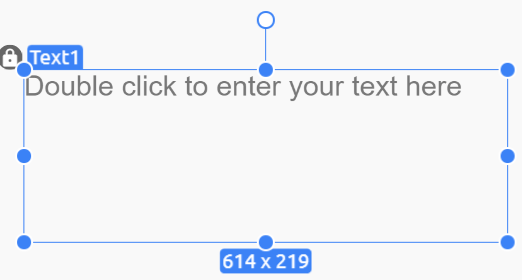 2. **Open the Playlist options.** In the **Properties** pane, select **Playlist**, then select the element you just placed on the canvas.
3. **Choose Data Vault as the source.** From the available playlist options, select **Data Vault**.
2. **Open the Playlist options.** In the **Properties** pane, select **Playlist**, then select the element you just placed on the canvas.
3. **Choose Data Vault as the source.** From the available playlist options, select **Data Vault**.
 4. **Select a Data Vault.** In the Data Vault pane that opens, choose the Data Vault you want to use.
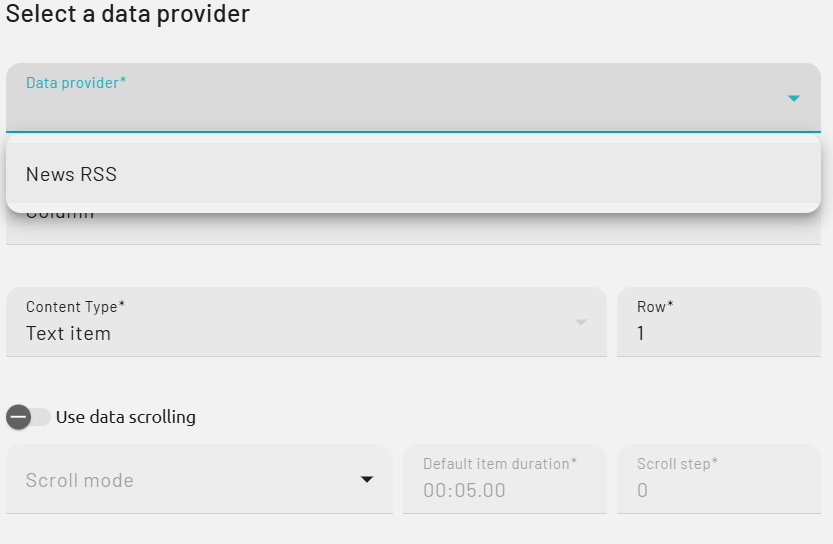 5. **Select a column.** Pick the column whose values you want to display in the element.
 6. **Confirm the selection.** Select **OK** to add the content to the element.
The Data Vault content now appears in your PADS4 presentation and updates automatically when the source changes.
6. **Confirm the selection.** Select **OK** to add the content to the element.
The Data Vault content now appears in your PADS4 presentation and updates automatically when the source changes.