> ## Documentation Index
> Fetch the complete documentation index at: https://docs.pads4.com/llms.txt
> Use this file to discover all available pages before exploring further.
# Templates
In your category, click **Create template** to begin designing.
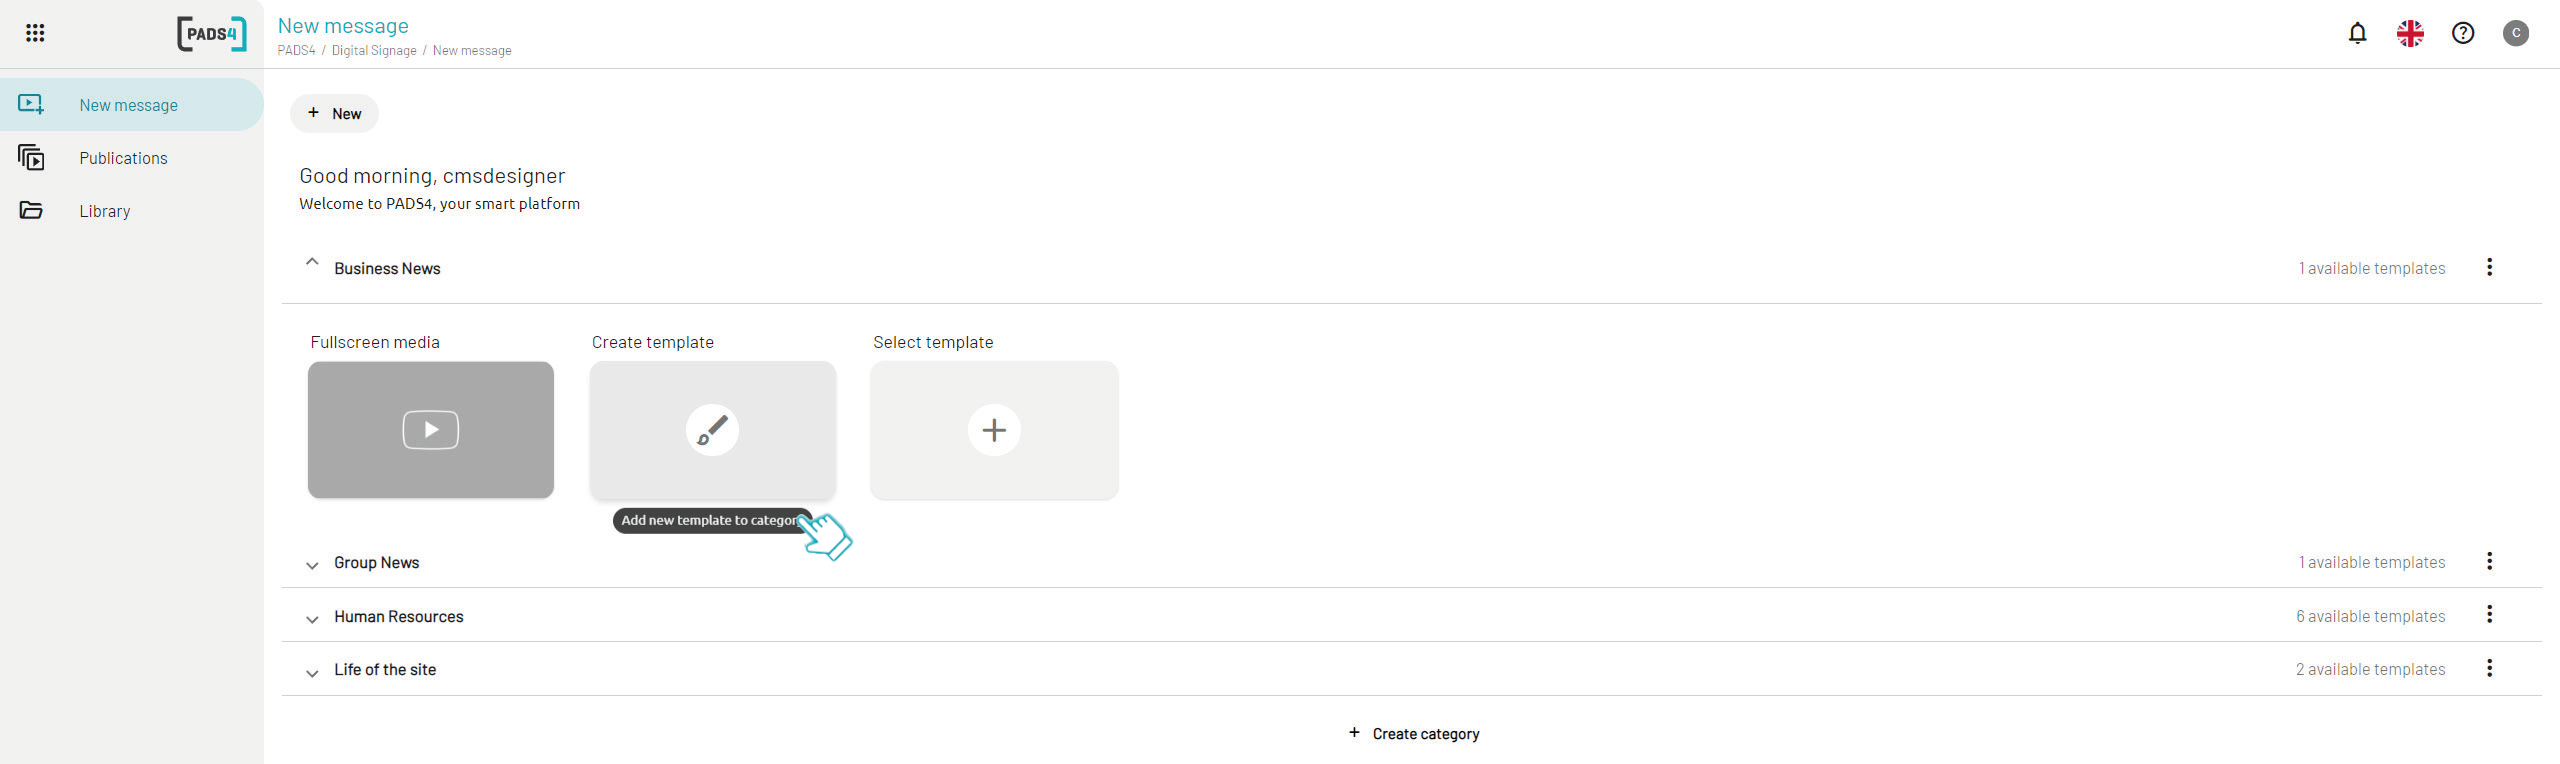 1. **Name** your template.
2. Add a **description** to help other users when publishing messages with this template.
3. Choose the **format** and **orientation** based on your screens (landscape or portrait).
4. Click **Create**.
1. **Name** your template.
2. Add a **description** to help other users when publishing messages with this template.
3. Choose the **format** and **orientation** based on your screens (landscape or portrait).
4. Click **Create**.
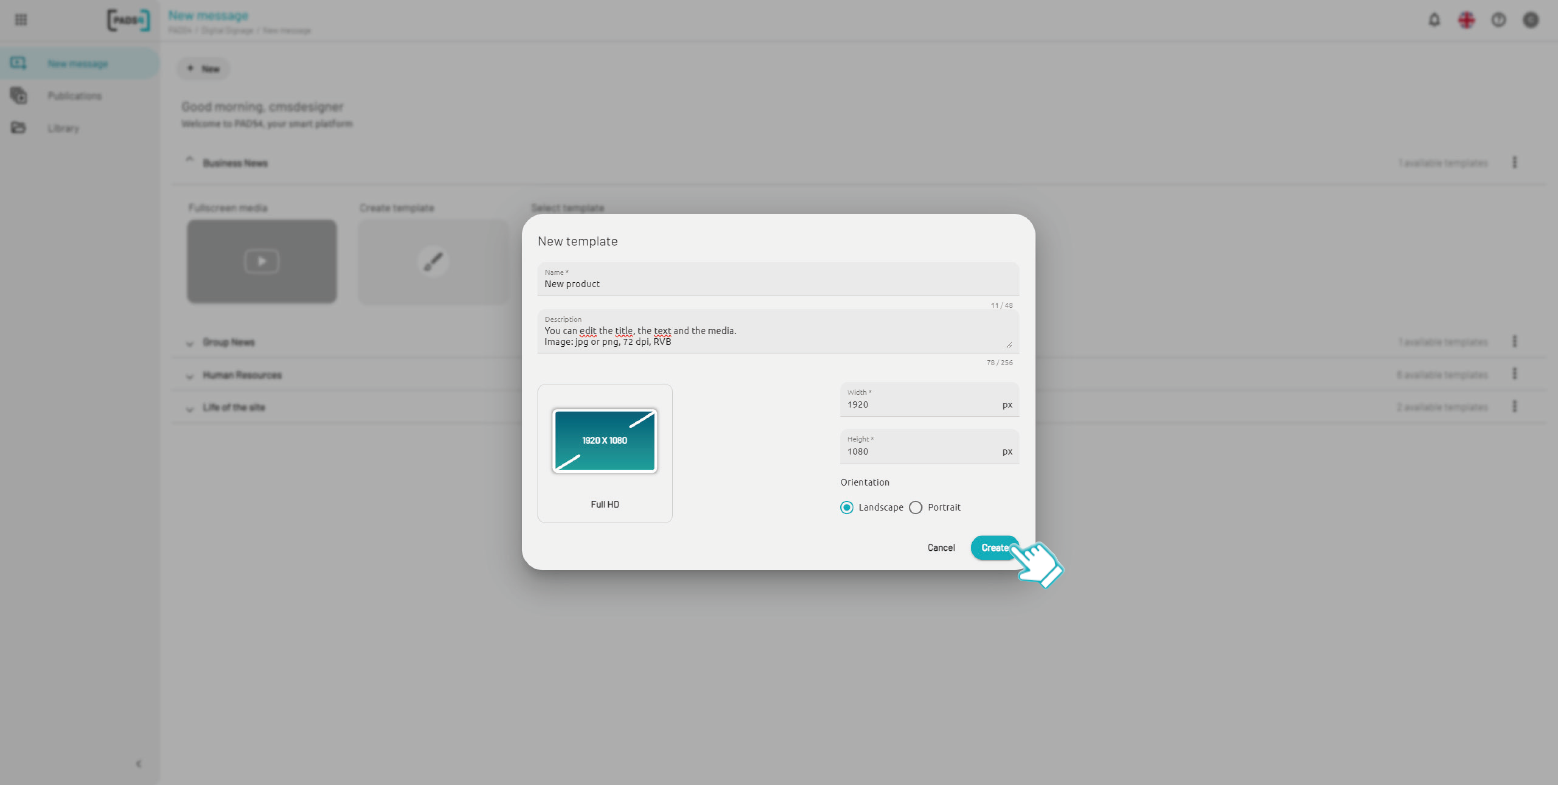 Clicking **Create template** will open the Web Designer interface, where you can build and customize your template from scratch. This intuitive web-based editor lets CMS Designers add elements like text, images, and media tailored to your digital signage screens (landscape or portrait).
1. **Collapse the left panel** (1) and the **property panel** (2) to maximize space for your main design canvas.
2. Click the **Fit to page** button (3) to automatically scale and center your content to fit the full page preview.
This gives you an optimal workspace in the Web Designer for creating PADS4 templates without distractions.
Clicking **Create template** will open the Web Designer interface, where you can build and customize your template from scratch. This intuitive web-based editor lets CMS Designers add elements like text, images, and media tailored to your digital signage screens (landscape or portrait).
1. **Collapse the left panel** (1) and the **property panel** (2) to maximize space for your main design canvas.
2. Click the **Fit to page** button (3) to automatically scale and center your content to fit the full page preview.
This gives you an optimal workspace in the Web Designer for creating PADS4 templates without distractions.
 ## Placing elements
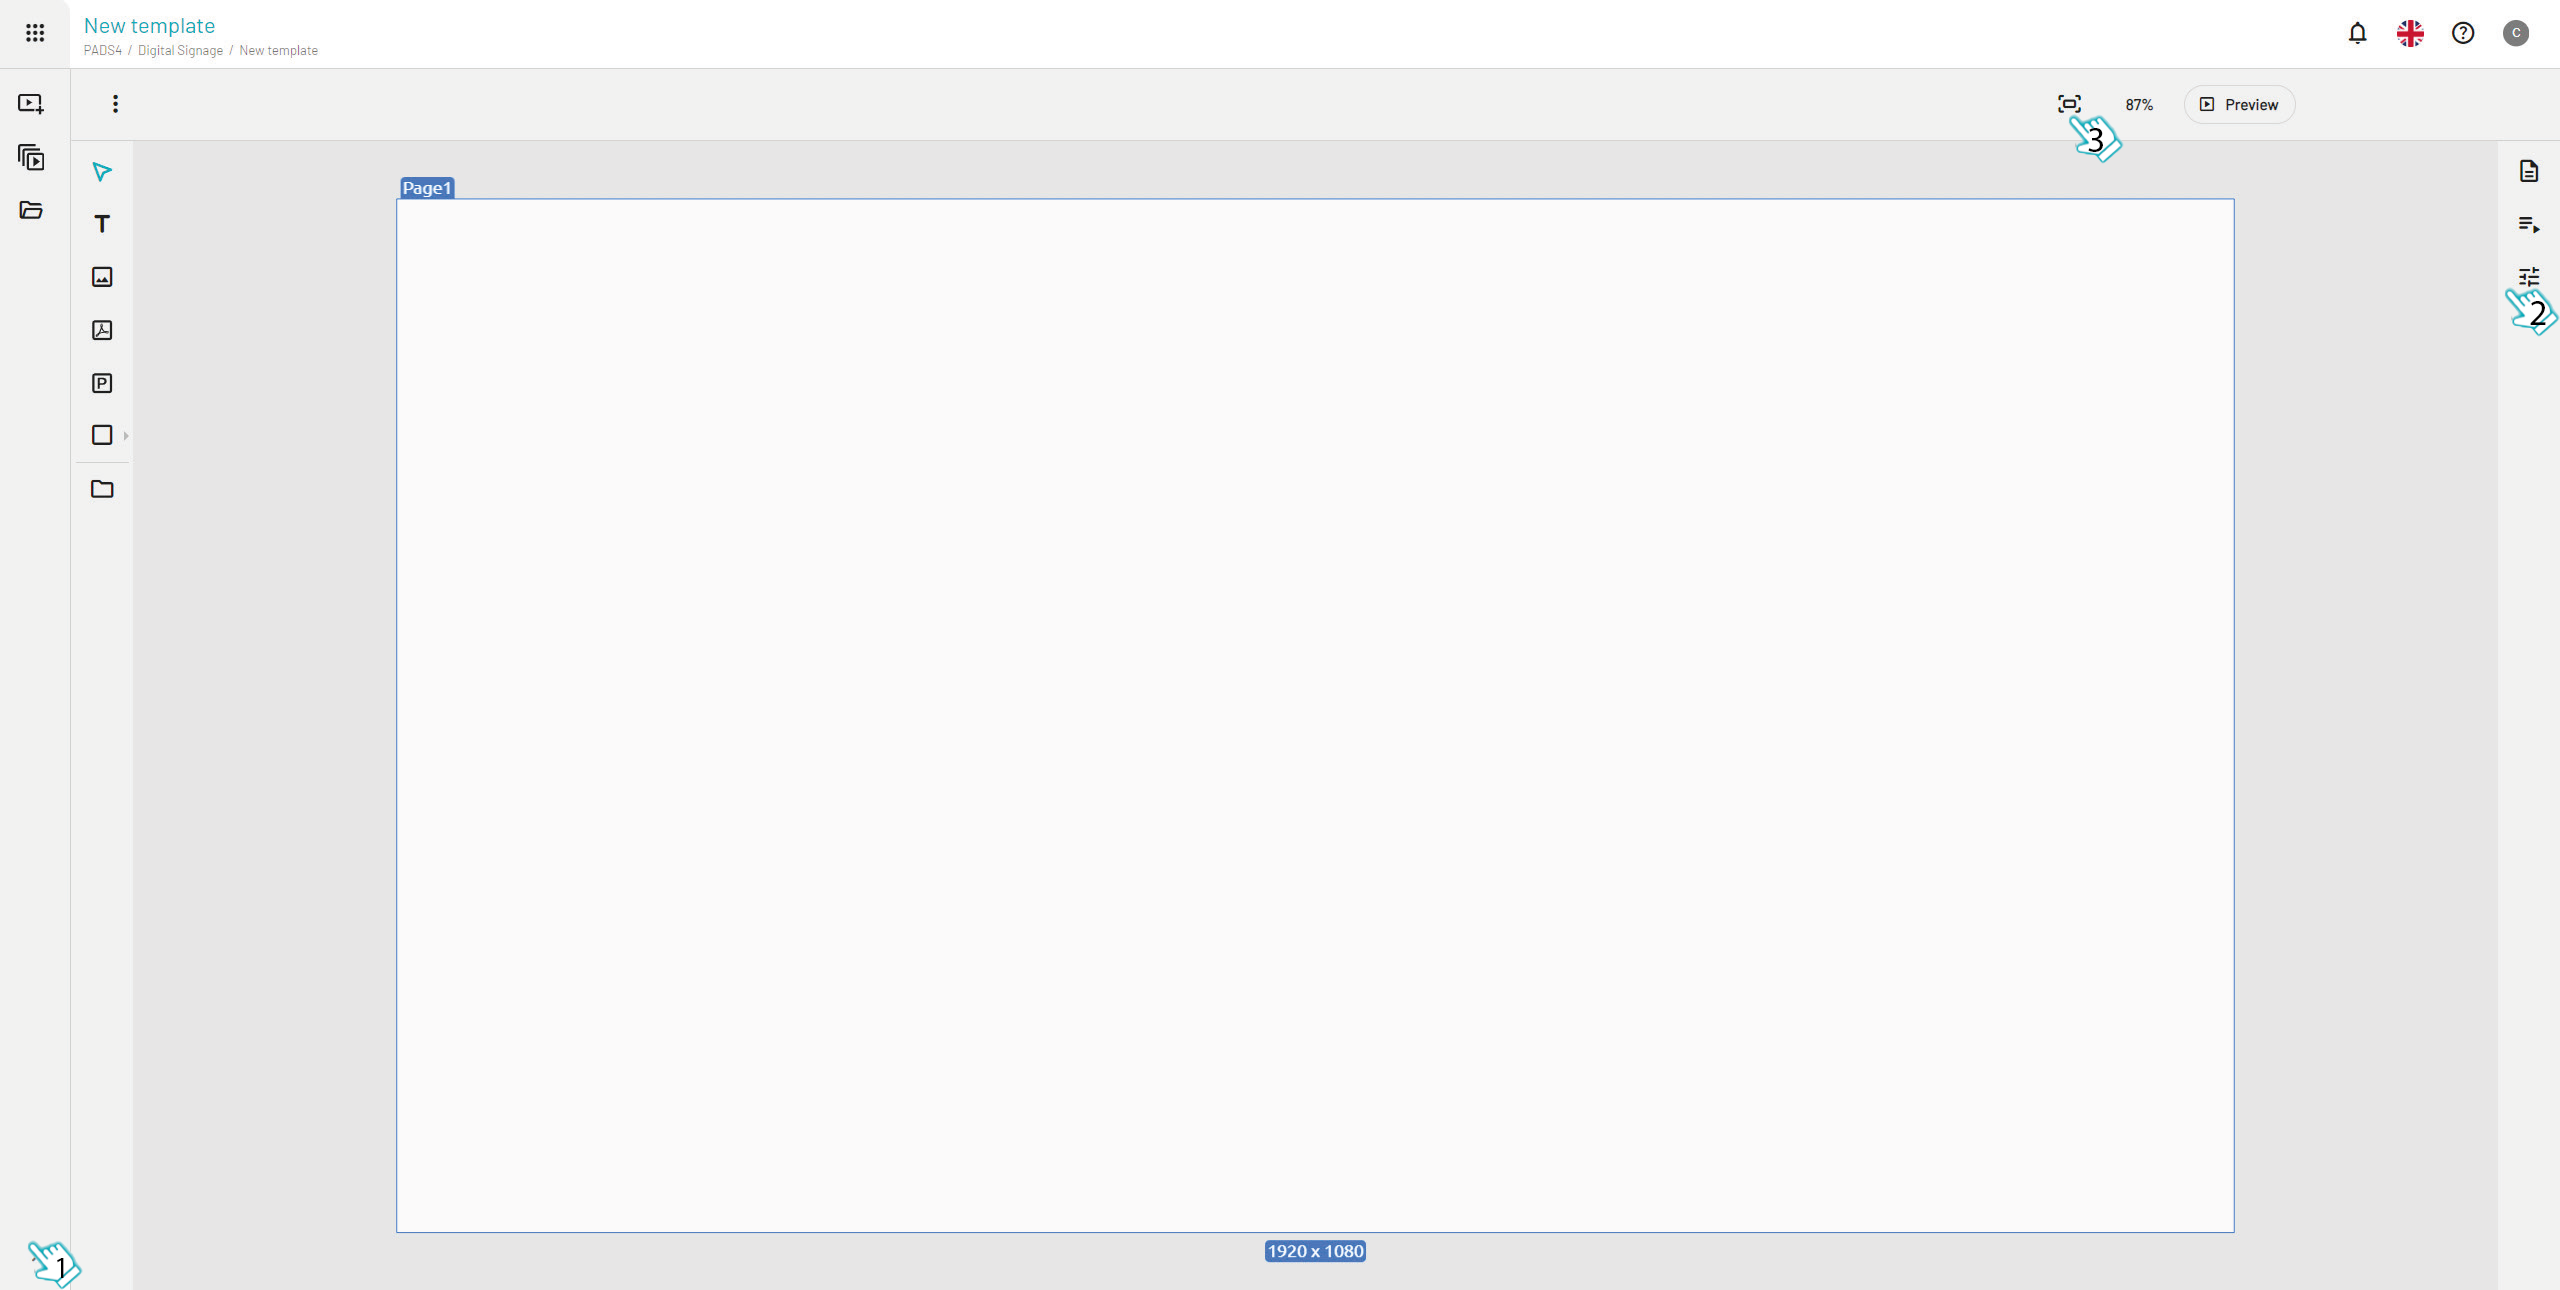
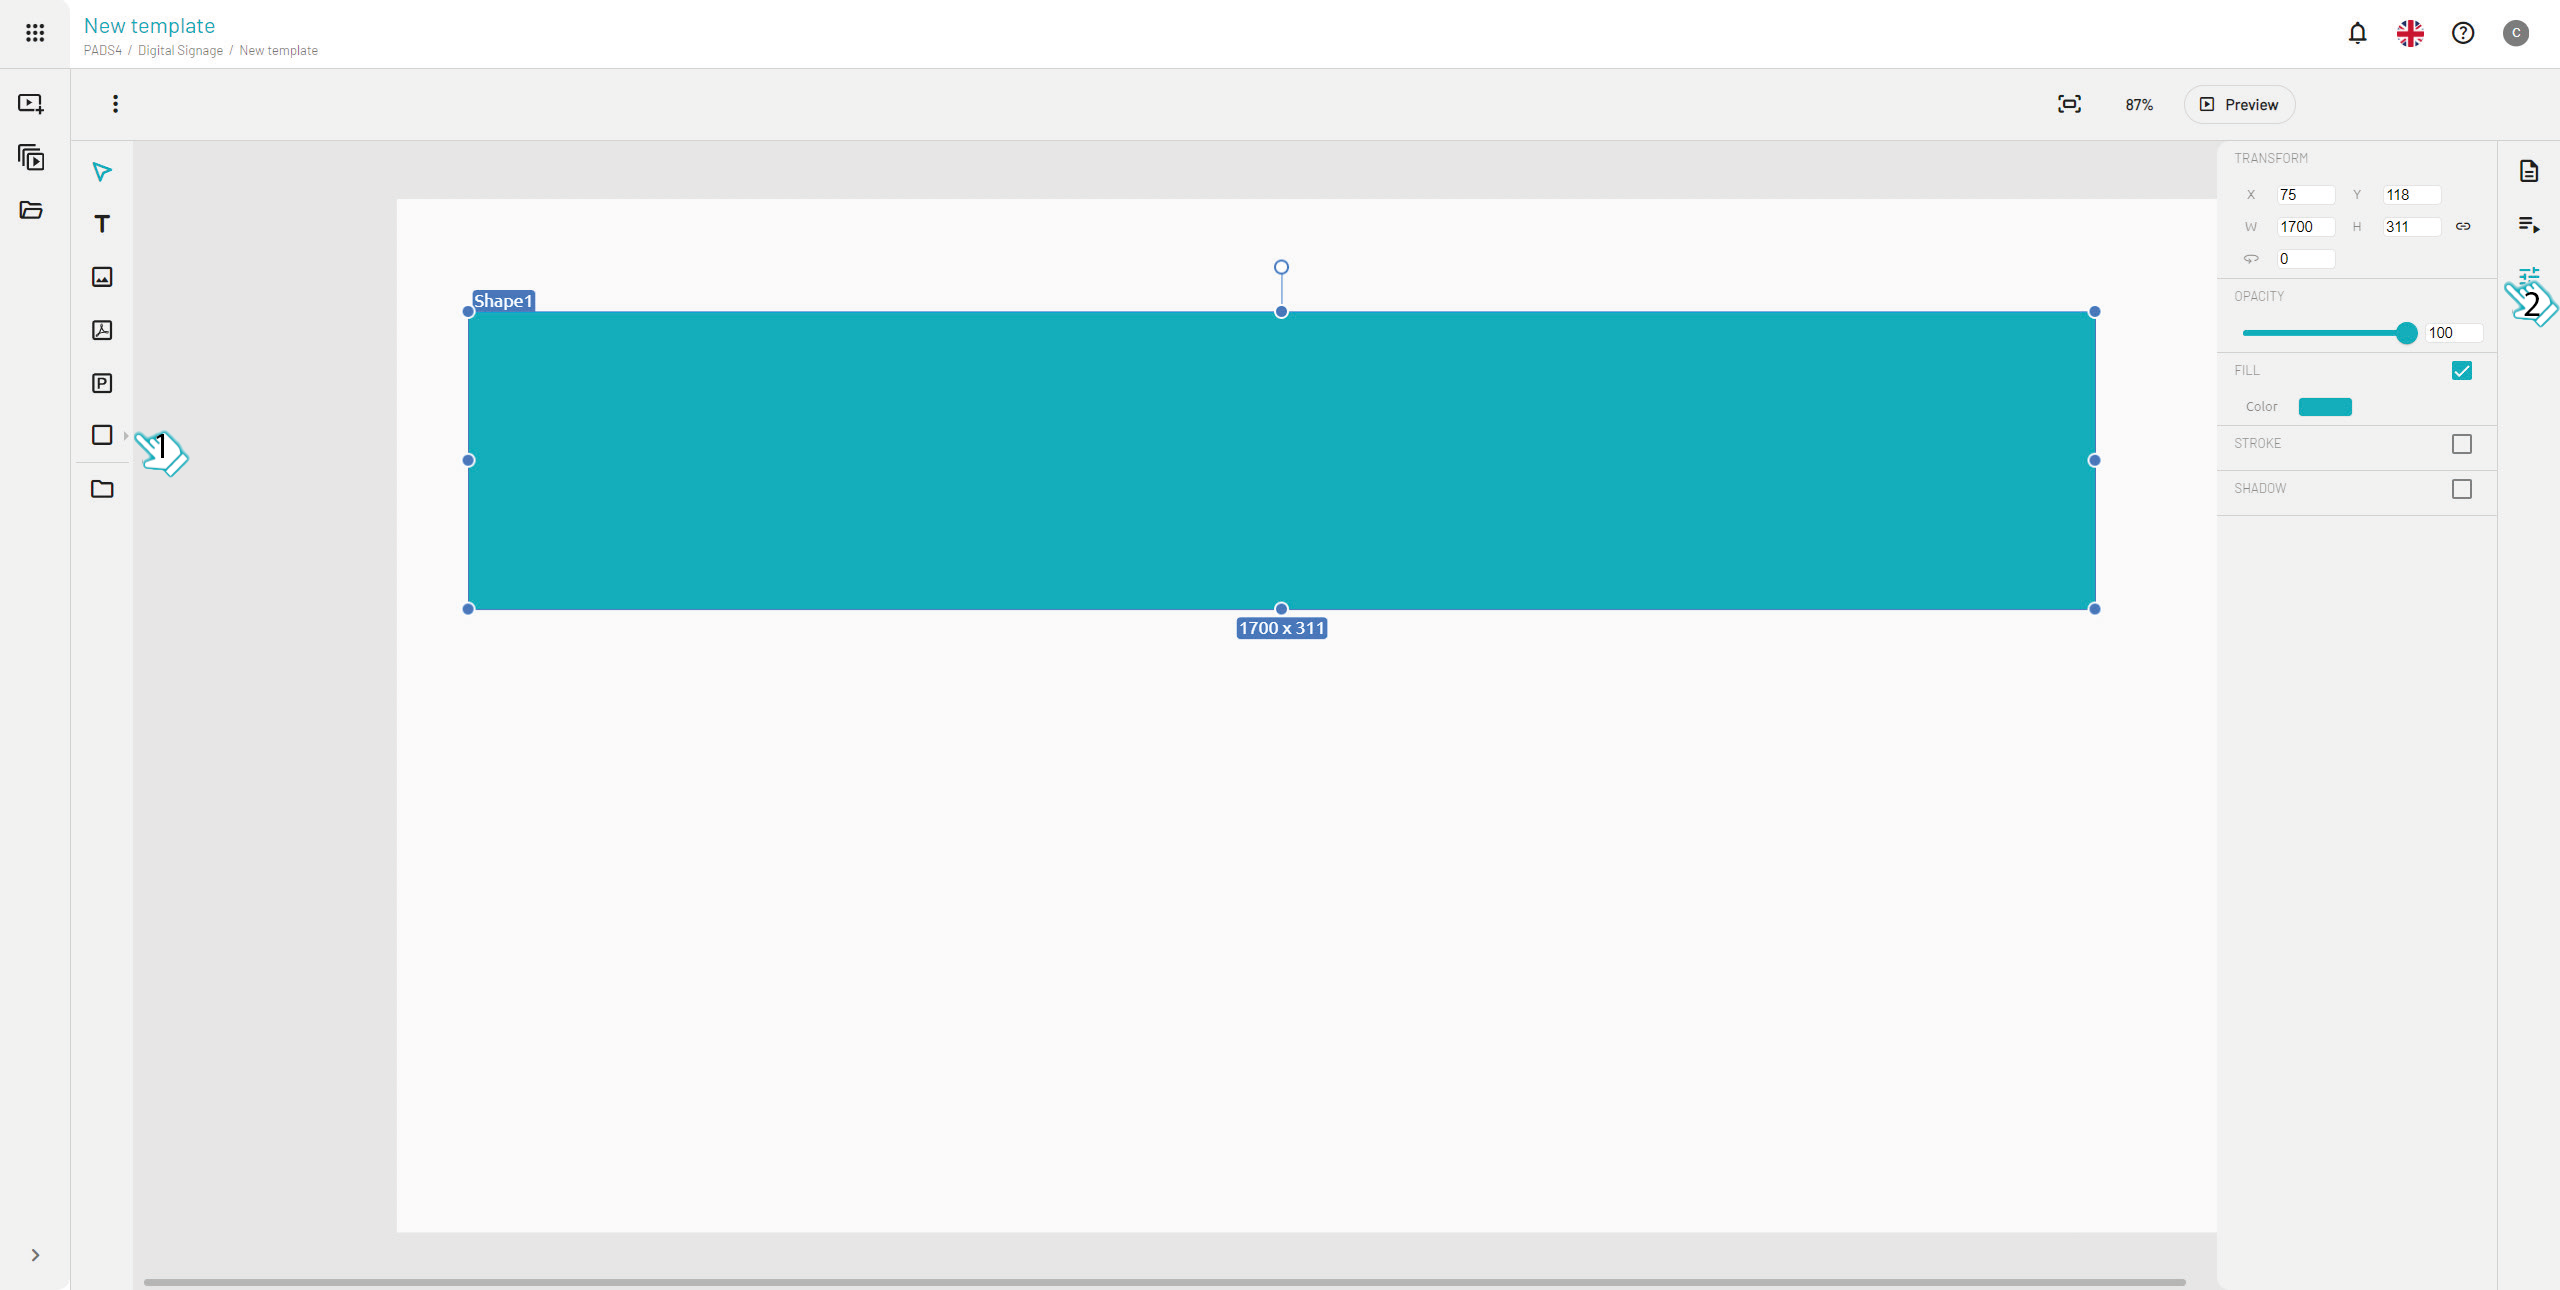
To add basic shapes to your template in the Web Designer:
1. Add a shape from the elements panel (1) on your design canvas.
2. Select the shape, then adjust its properties in the right panel (2). (x=0, y=320, w=1920, h=450)
## Placing elements
To add basic shapes to your template in the Web Designer:
1. Add a shape from the elements panel (1) on your design canvas.
2. Select the shape, then adjust its properties in the right panel (2). (x=0, y=320, w=1920, h=450)
 Once your shape settings are complete, incorporate images to enhance your template design in the Web Designer.
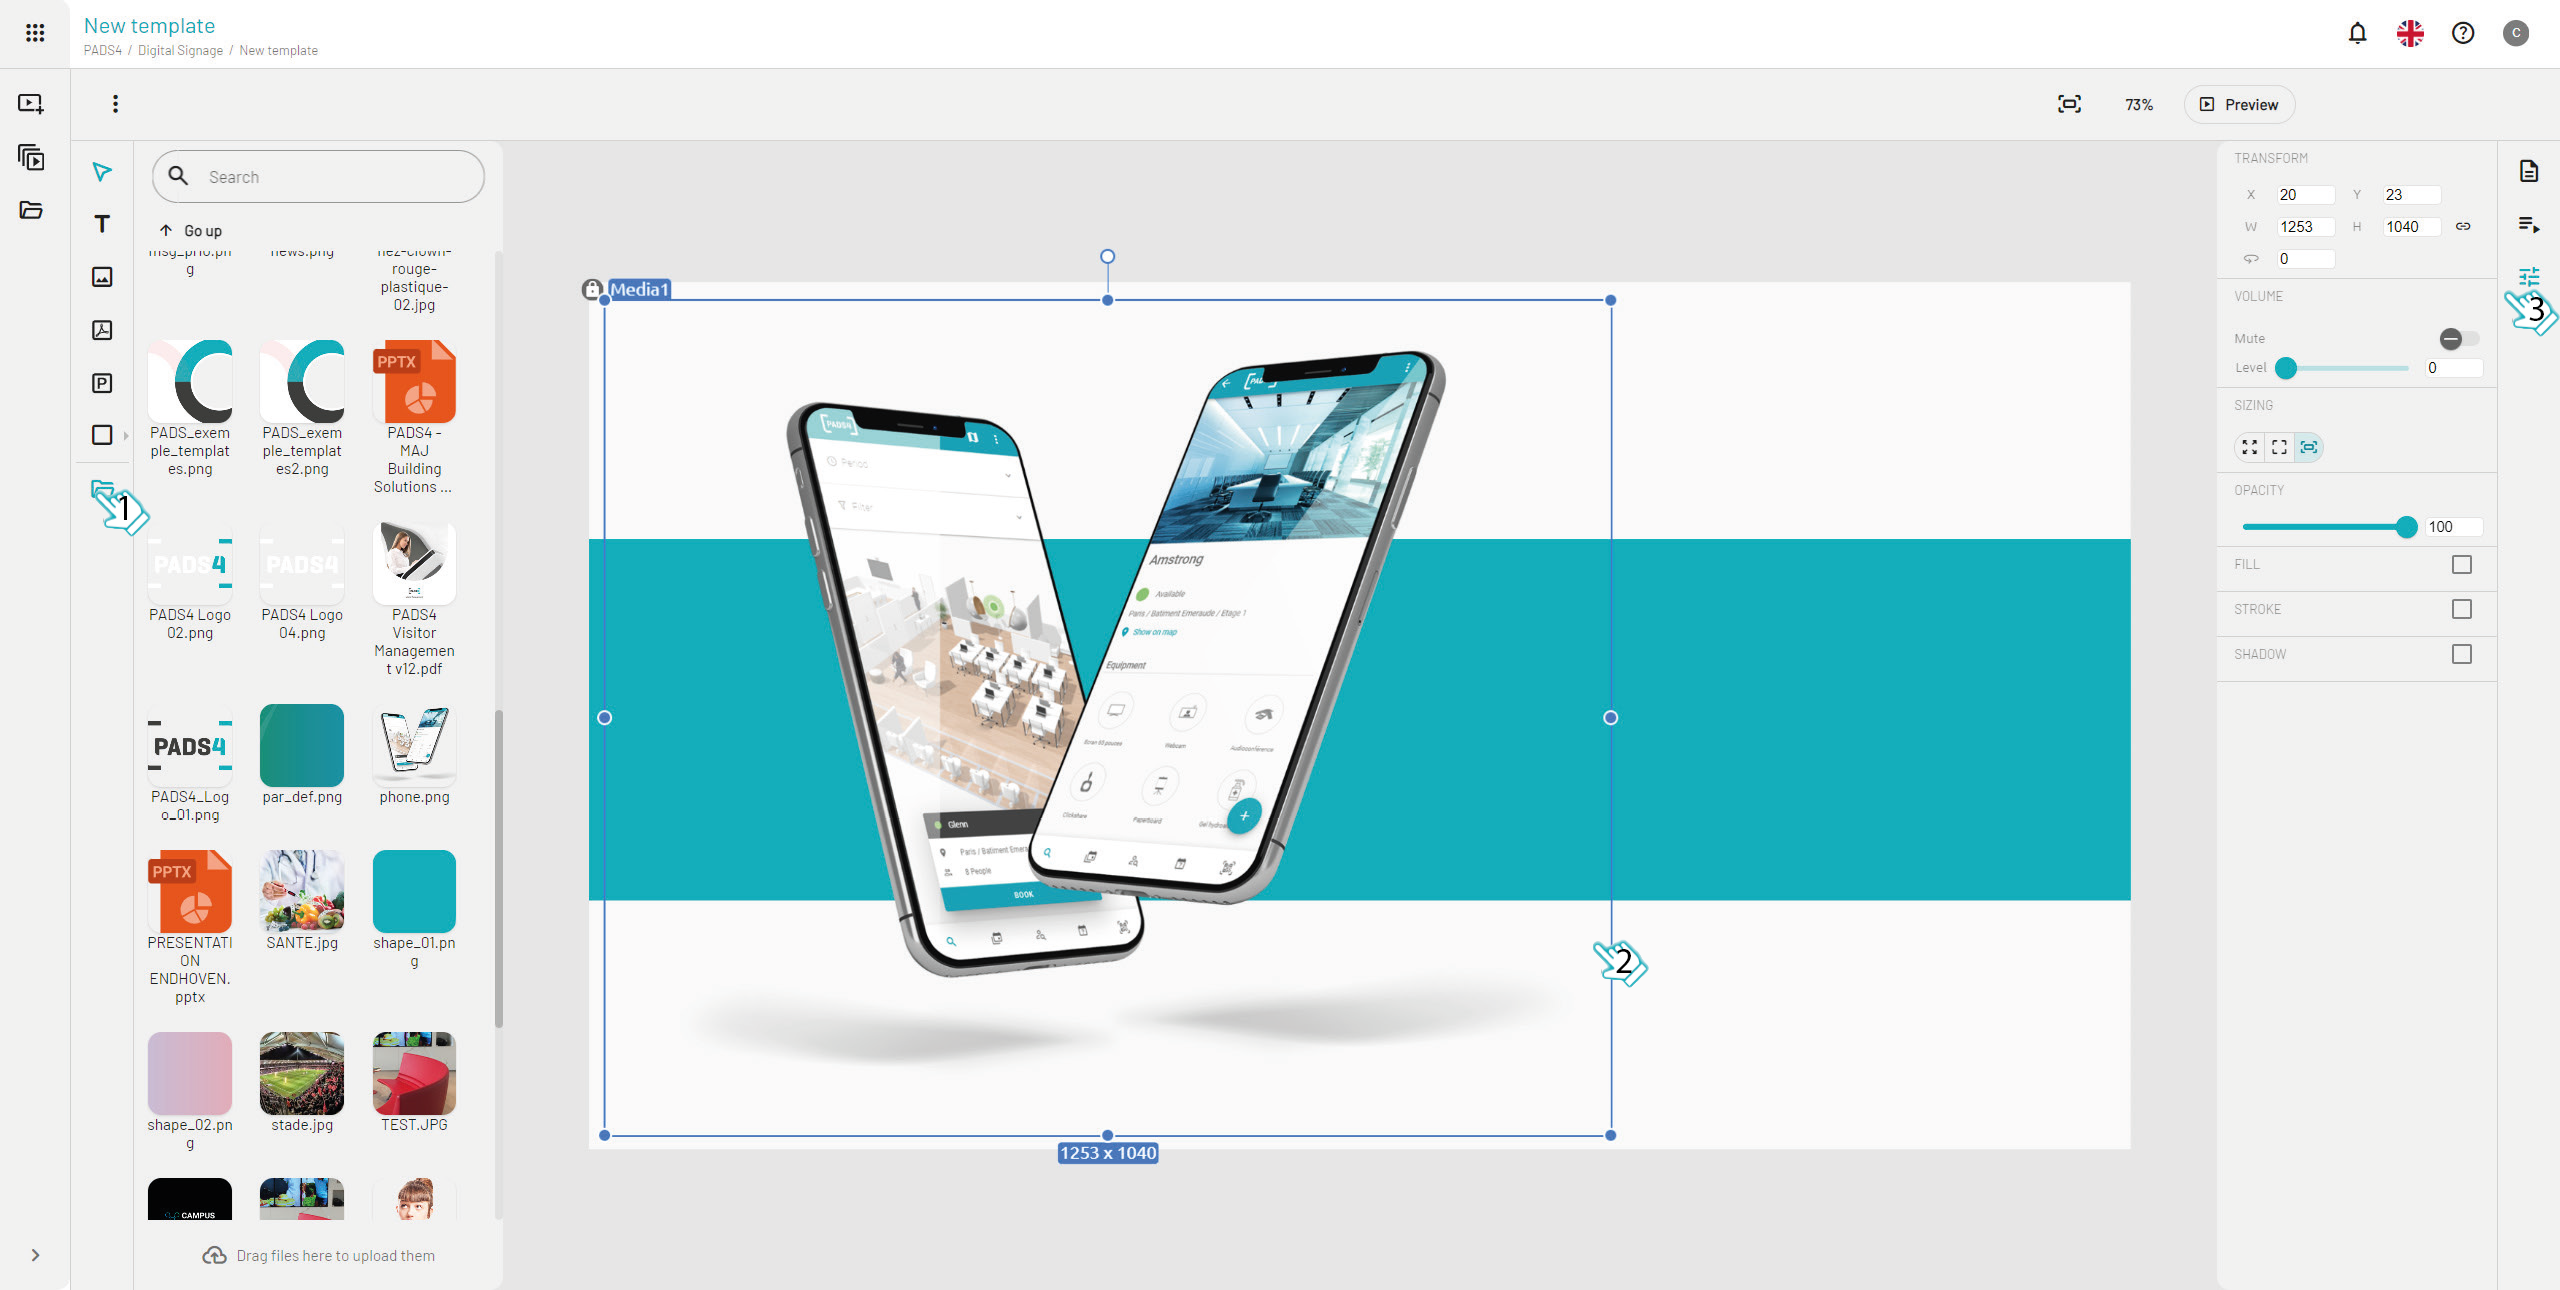
1. Open the **Content Library** (1) to access your media assets.
2. Drag and drop (2) your desired image directly onto the canvas.
3. Select the image and adjust its properties in the right panel (3) to fit your PADS4 screen layout perfectly.
Once your shape settings are complete, incorporate images to enhance your template design in the Web Designer.
1. Open the **Content Library** (1) to access your media assets.
2. Drag and drop (2) your desired image directly onto the canvas.
3. Select the image and adjust its properties in the right panel (3) to fit your PADS4 screen layout perfectly.
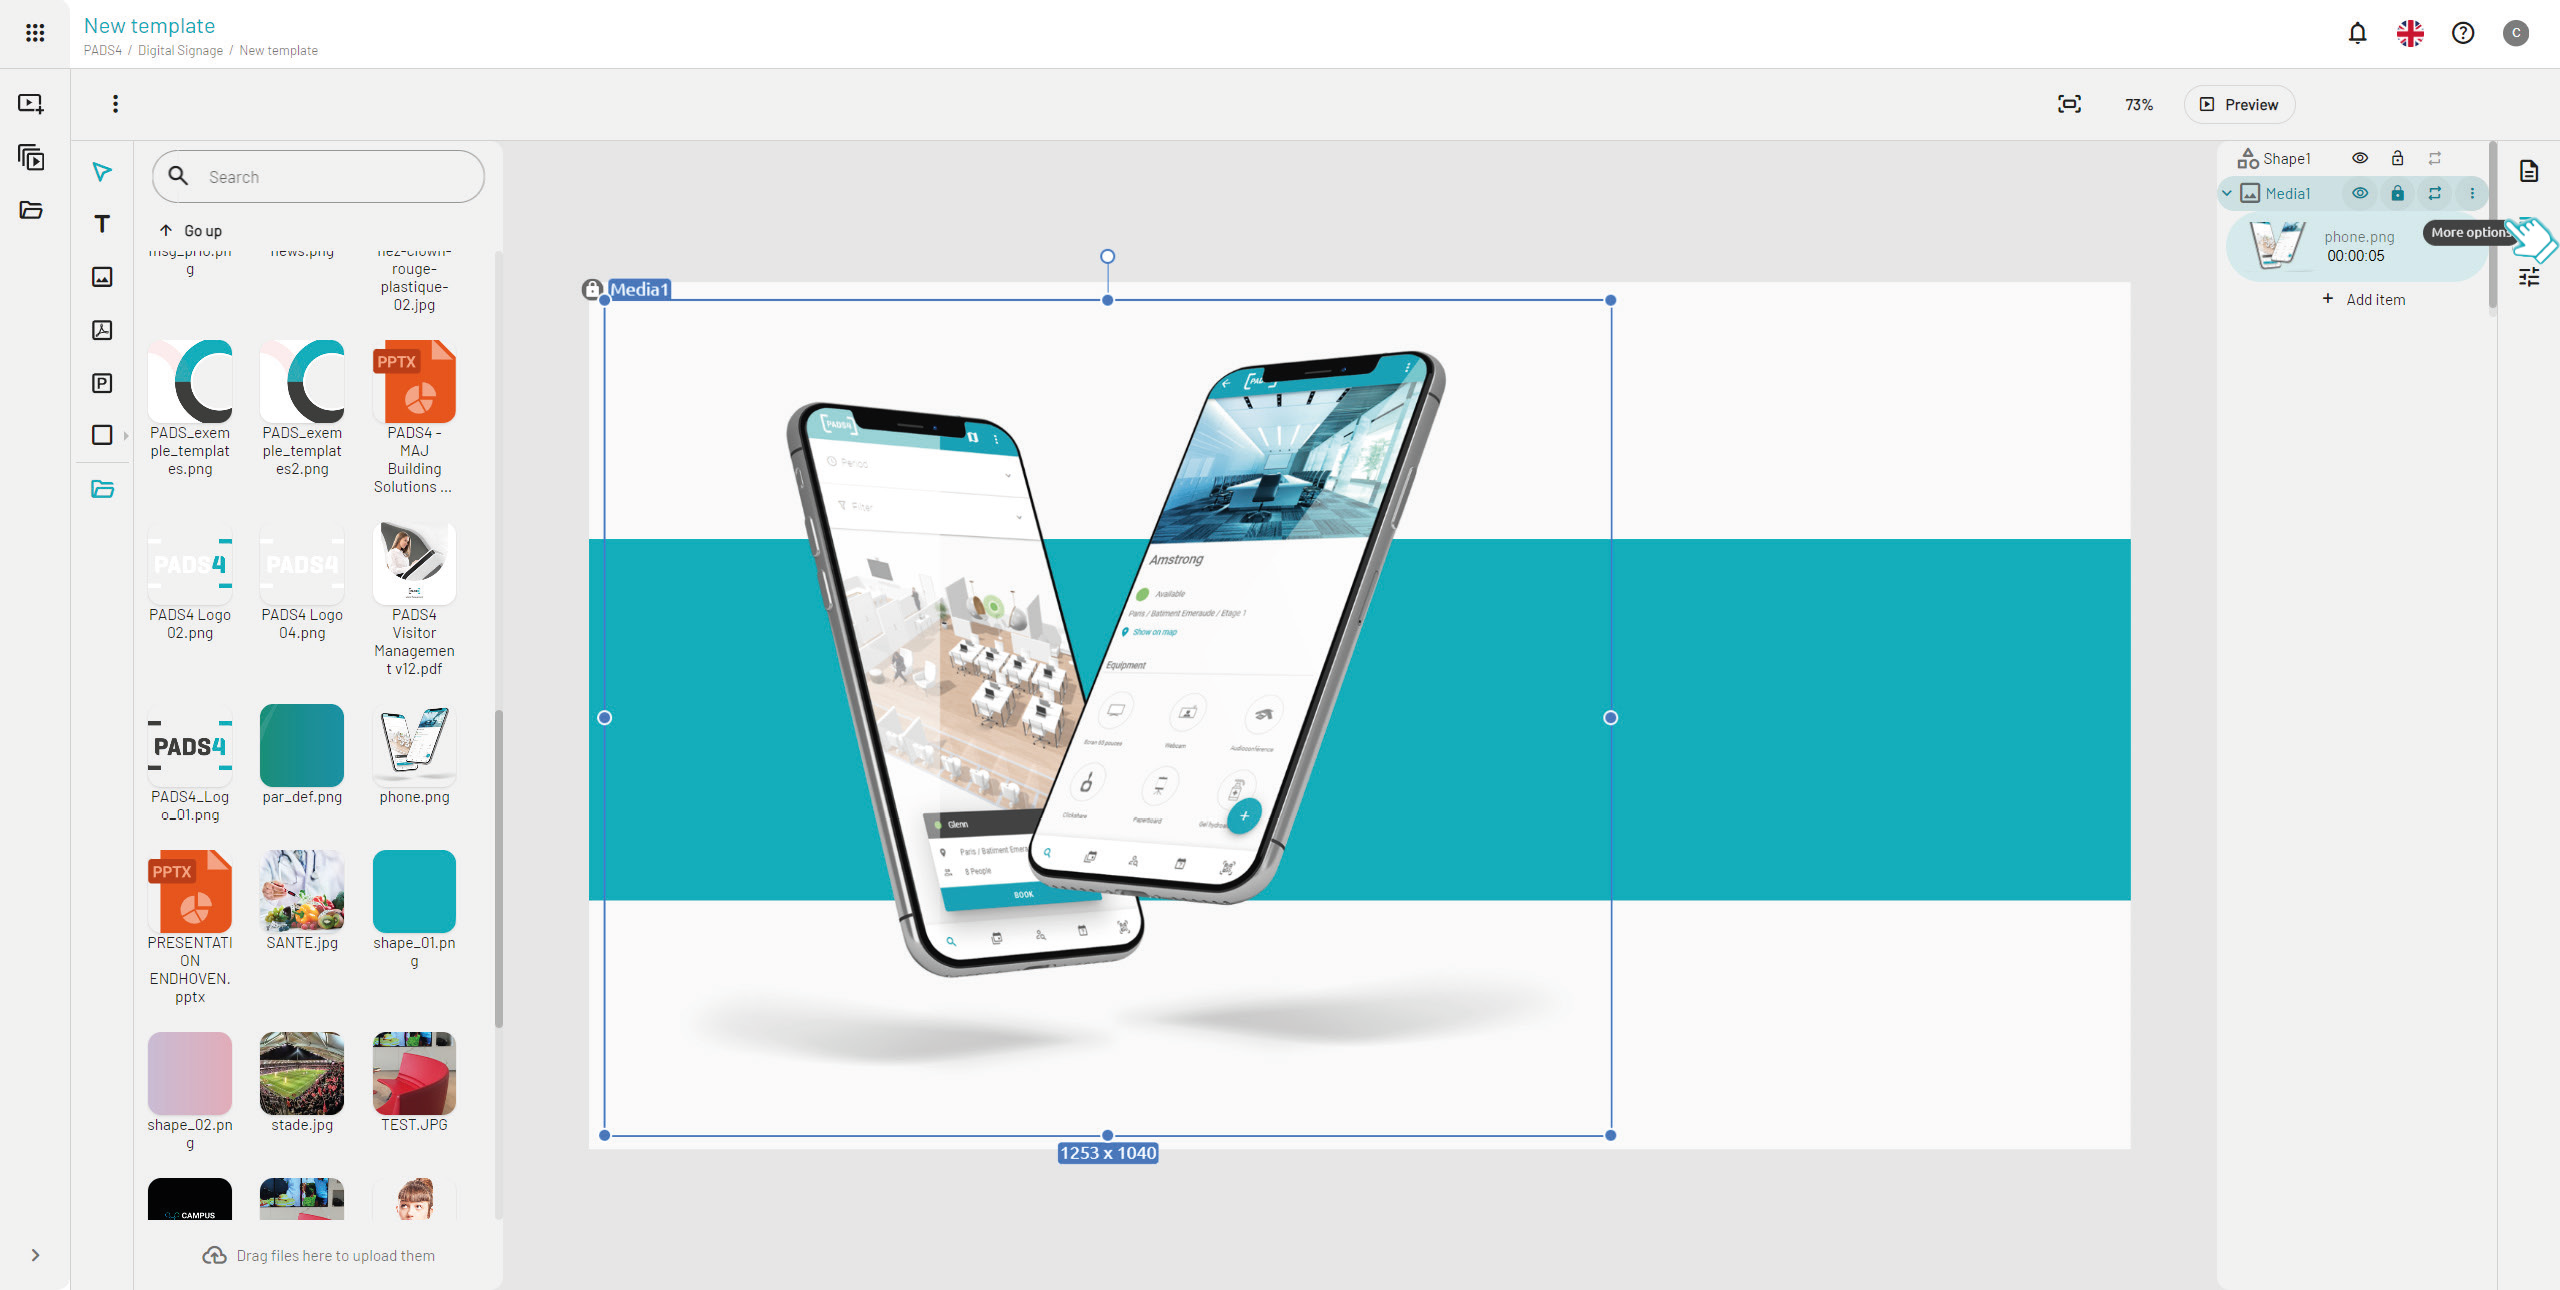
 After placing your image, fine-tune its layer properties in the Web Designer to (un)lock capabilities and playback behavior in PADS4 templates.
1. Select the layer (image, shape, or element) and open its properties in the right panel.
2. Toggle locked/unlocked status for unlocked layers, CMS users can edit the content (e.g., replace the image) when publishing messages.
3. Set additional options like layer duration, add multiple overlapping items, or adjust the arrangement (e.g., send to back or bring to front).
After placing your image, fine-tune its layer properties in the Web Designer to (un)lock capabilities and playback behavior in PADS4 templates.
1. Select the layer (image, shape, or element) and open its properties in the right panel.
2. Toggle locked/unlocked status for unlocked layers, CMS users can edit the content (e.g., replace the image) when publishing messages.
3. Set additional options like layer duration, add multiple overlapping items, or adjust the arrangement (e.g., send to back or bring to front).
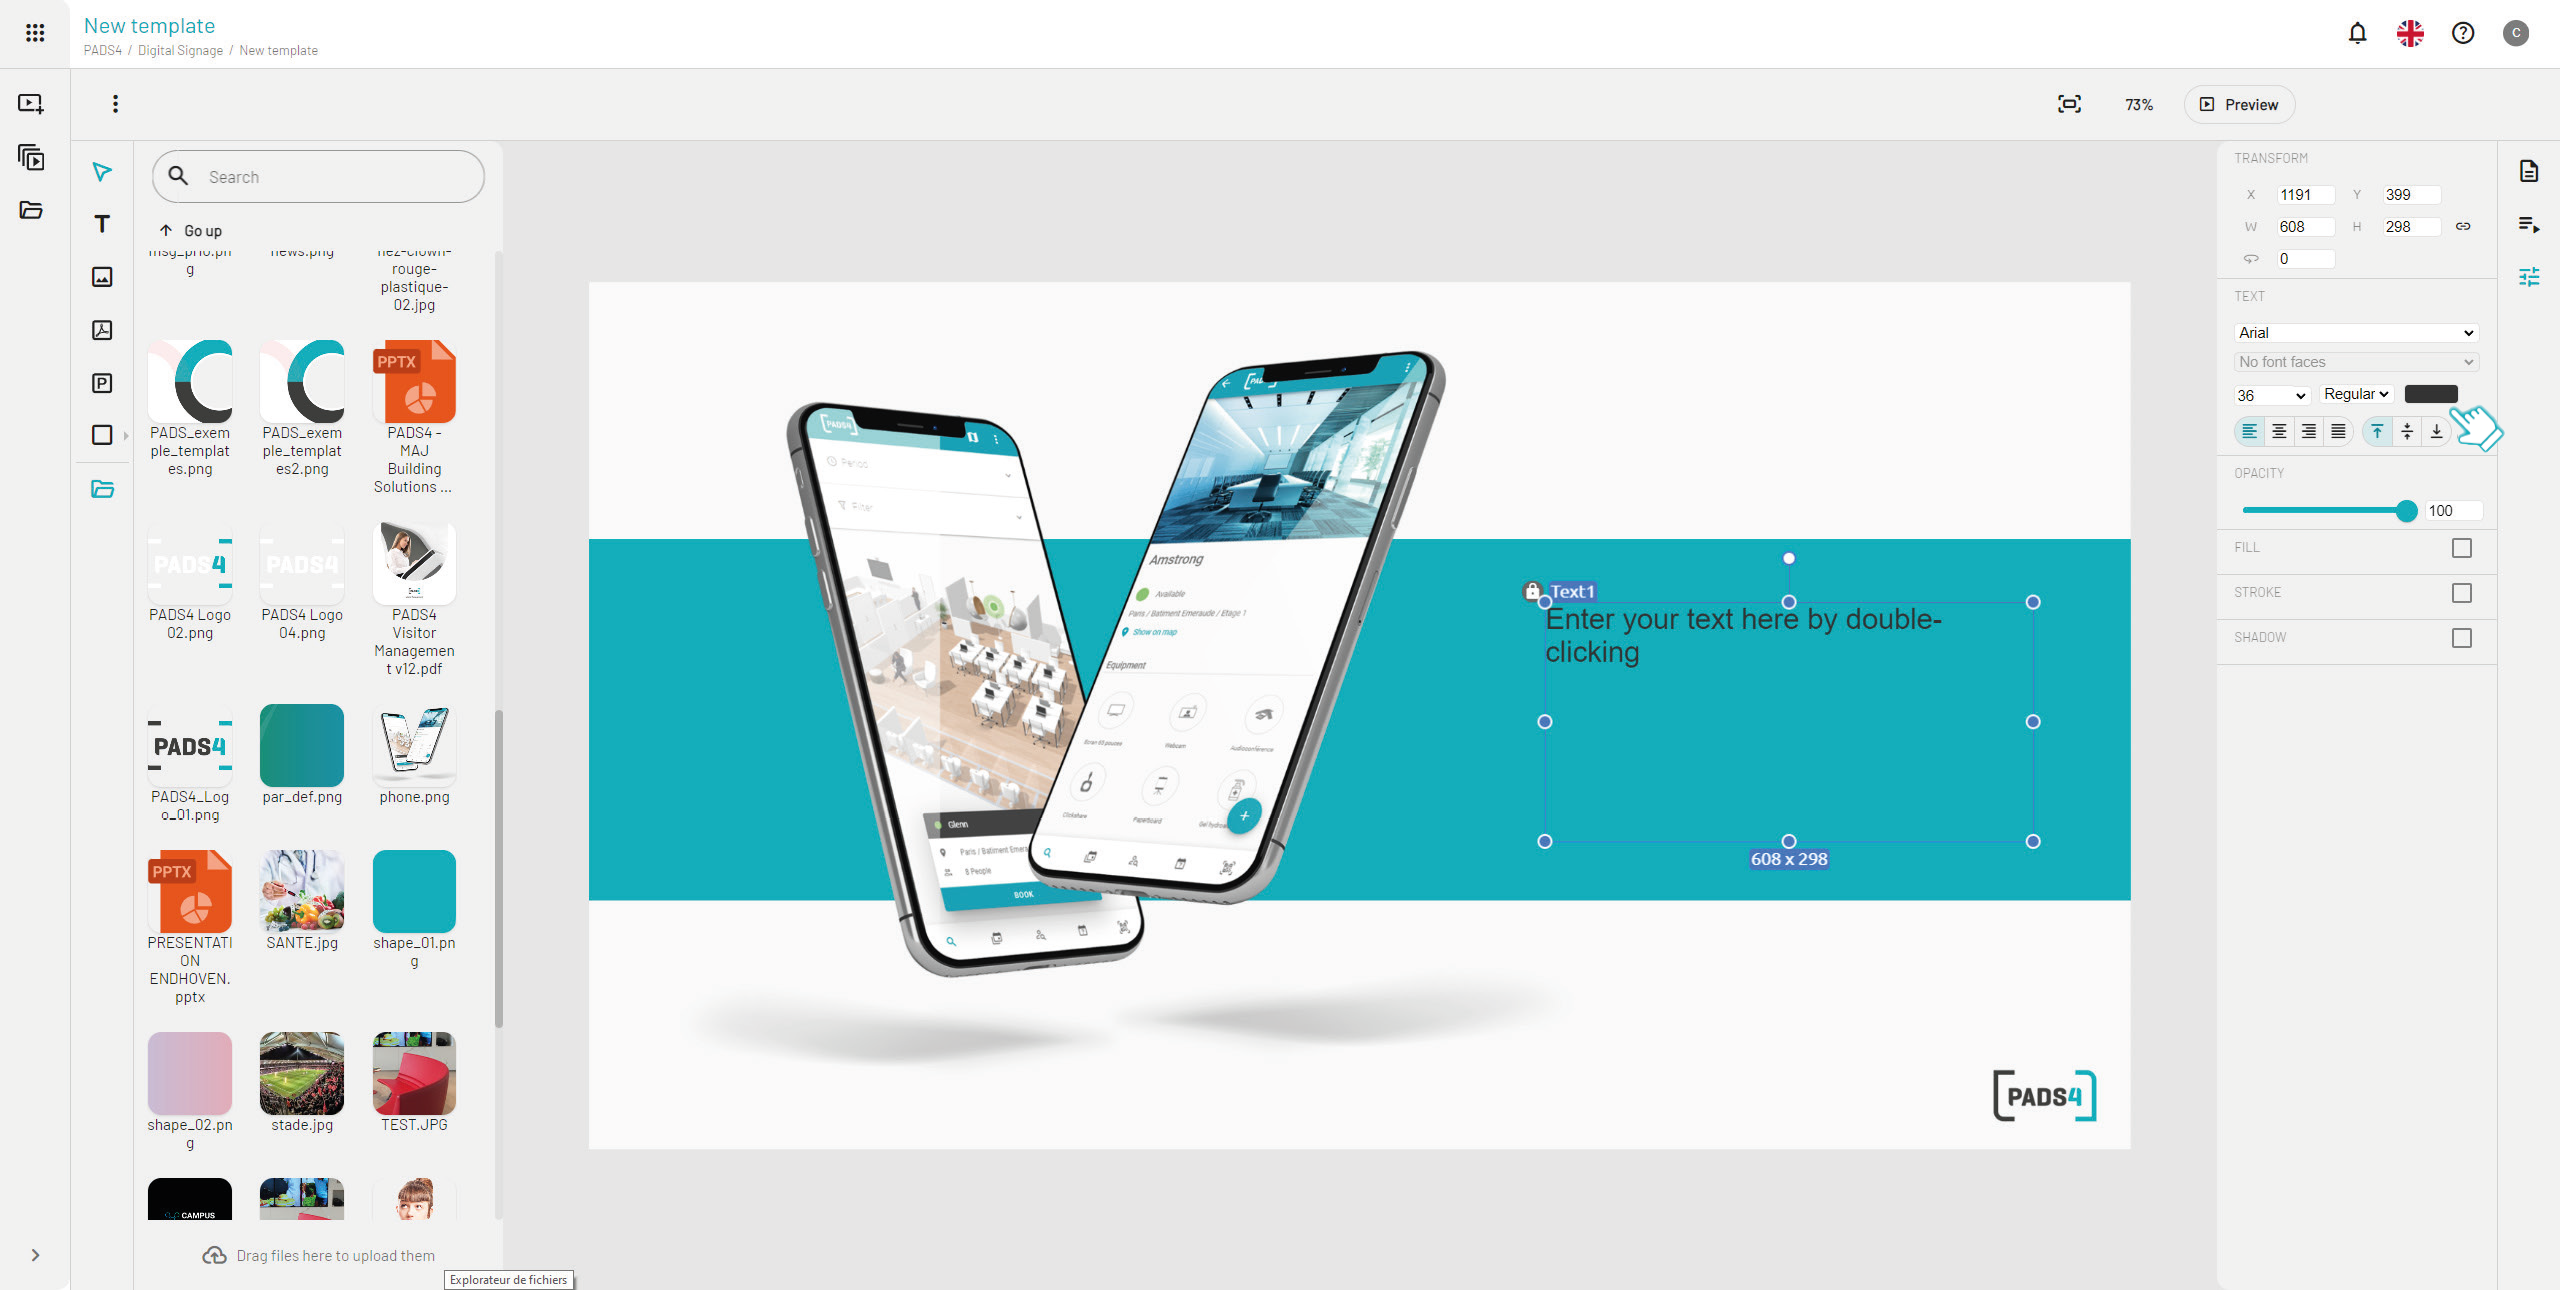
 Add a locked logo for branding and an unlocked text field for user customization in your PADS4 Web Designer template.
1. **Logo**: Drag your logo to the bottom-right corner, select it, and \*\*lock \*\*the layer in the properties panel. CMS users cannot edit or remove it when publishing.
2. **Text**: Add text to the canvas, select it, and set the layer to **unlocked** so users can edit the content for their messages.
3. **Style text**: Adjust font family, size, color, and position in the properties panel.
Unlocking affects only text *content*, not styling (size, color, etc.) those stay fixed.
Add a locked logo for branding and an unlocked text field for user customization in your PADS4 Web Designer template.
1. **Logo**: Drag your logo to the bottom-right corner, select it, and \*\*lock \*\*the layer in the properties panel. CMS users cannot edit or remove it when publishing.
2. **Text**: Add text to the canvas, select it, and set the layer to **unlocked** so users can edit the content for their messages.
3. **Style text**: Adjust font family, size, color, and position in the properties panel.
Unlocking affects only text *content*, not styling (size, color, etc.) those stay fixed.
 ## Save the new template
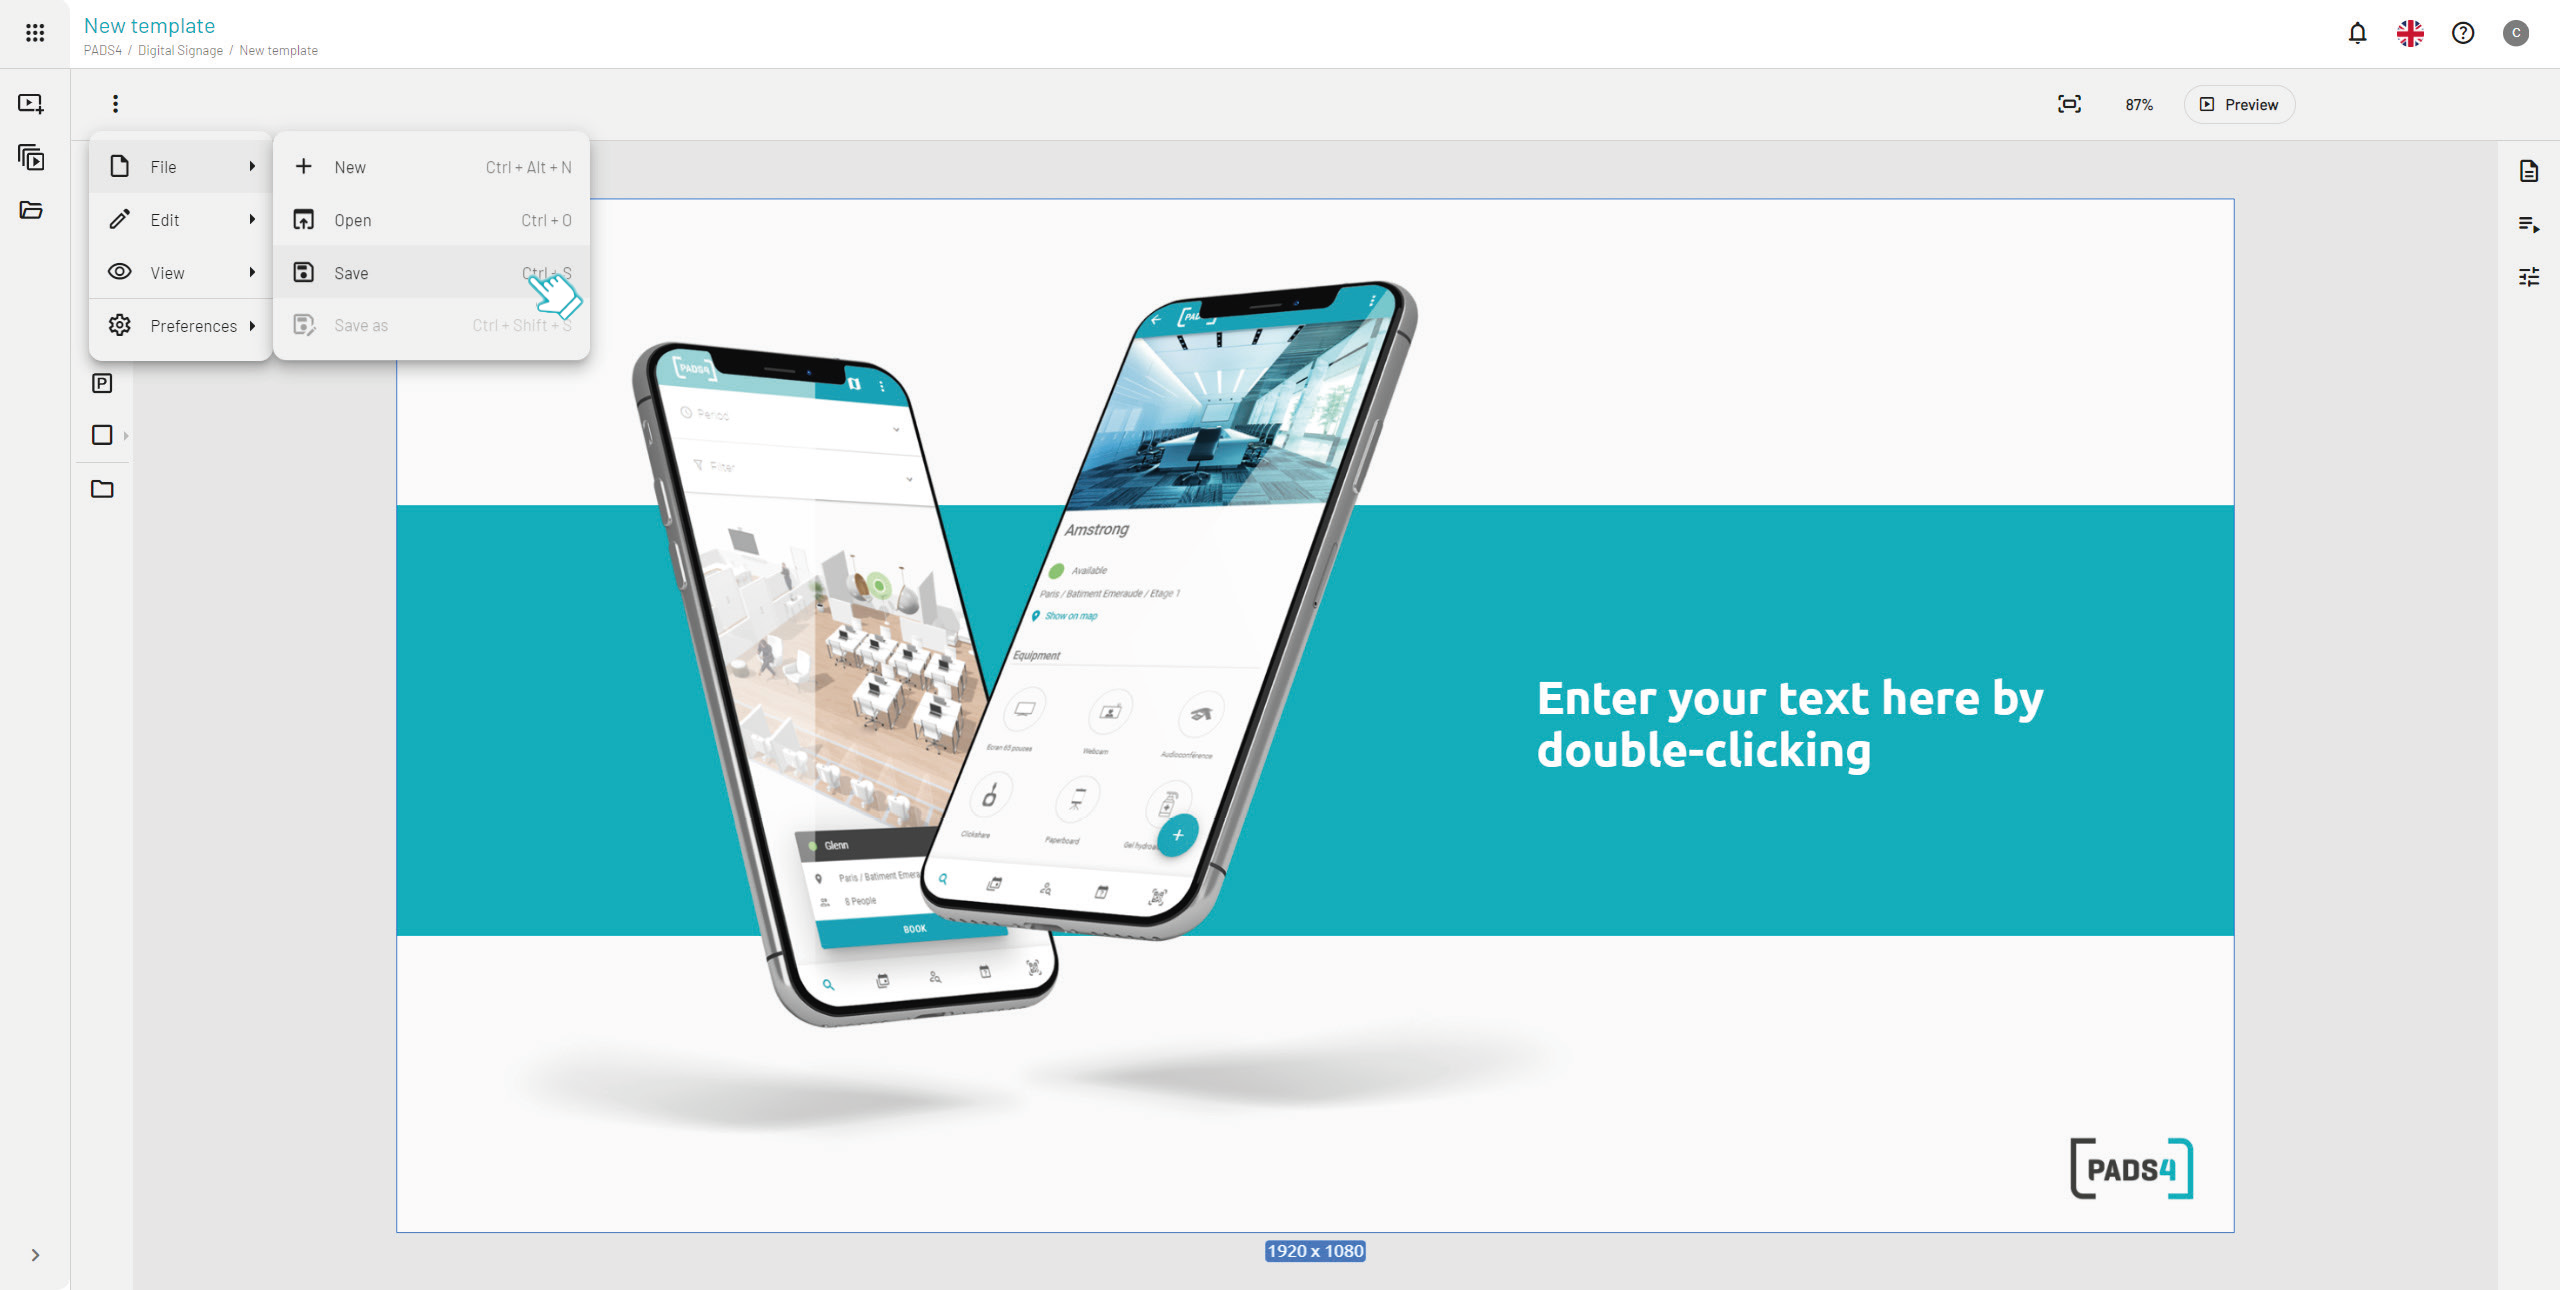
Once your text and all elements are finalized, save your template in the Web Designer.
Click **Save** to store your PADS4 template. Ready for CMS users to select and publish messages with your locked logo and editable content.
## Save the new template
Once your text and all elements are finalized, save your template in the Web Designer.
Click **Save** to store your PADS4 template. Ready for CMS users to select and publish messages with your locked logo and editable content.